Email sending guide
This guide will explain the basics of sending an email message from Selligent Delivery Cloud.
The steps for sending an email are as follows:
API playground - Postman
To facilitate playing around with the SDC API, you can download a ready-to-use Postman collection to kick-start using the API.
1. Request access token
For security and identification, it is needed to request an access token using either a client-side or a server-side OAuth 2.0 implementation.
Oauth Access token
More information on how to authenticate can be found in our guide about Oauth Access token
After authenticating using the Oauth2 flow, the returned access_token can be used when making API calls towards Selligent Delivery Cloud.
The access token is a temporary token that will expire after a certain period. Most modern Oauth2.0 clients support automatic refreshing of the access token and handling the authentication process.
2. Build your email message
The content of your email message is up to you to define and create. Selligent Delivery Cloud will support email messages in HTML & text format.
You can use various tools to build an email message.
For the sake of simplicity, we will use a very simple HTML template.
<!DOCTYPE html>
<html
  lang="en"
  xmlns="http://www.w3.org/1999/xhtml"
  xmlns:v="urn:schemas-microsoft-com:vml"
  xmlns:o="urn:schemas-microsoft-com:office:office"
>
  <body>
    <table
      style="border: 1px solid gray; width: 600px;"
      cellspacing="0"
      border="0"
    >
      <tr>
        <td
          align="center"
          style="padding: 1em 2.5em; text-align: center; font-family: 'Montserrat', sans-serif; font-size: 20px; font-weight: 700; text-transform: uppercase;"
        >
          RestoBar
        </td>
      </tr>
      <tr>
        <td>
          <img
            src="https://getstarted.slgnt.io/engage/assets/guides/html_email_cta_1.png"
            alt=""
            width="600"
            height="400"
            border="0"
            style="margin: auto; display: block;"
          />
        </td>
      </tr>
    </table>
  </body>
</html>
which is only a little extract of a nicely looking promotional mail for booking at a restaurant: 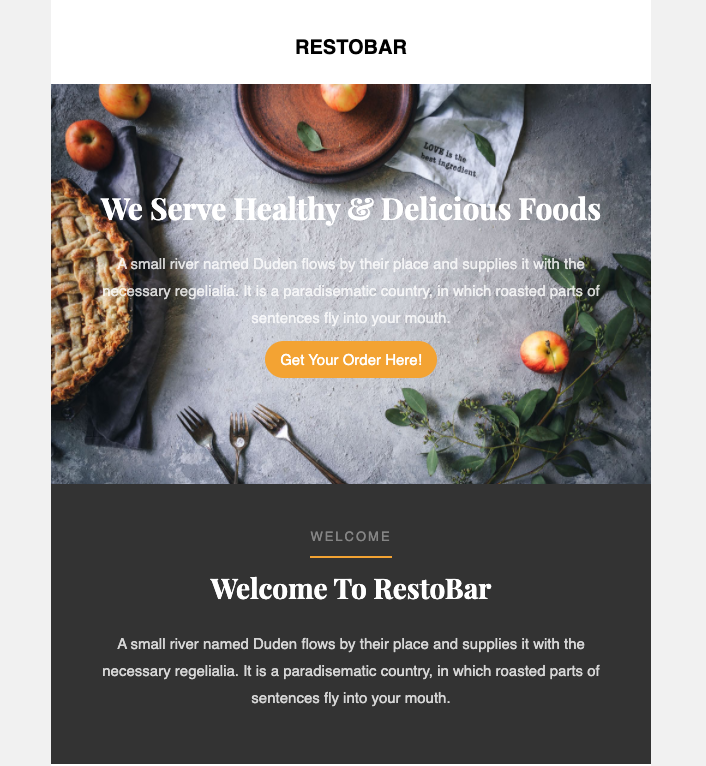
3. Send the email message via API
Using the Selligent Delivery Cloud, it is possible to send messages (email, mobile push, SMS) towards contacts/recipients. We offer a straightforward API that allows you to send individual messages or messages in bulk.
Tracking opens and clicks
SDC sends the message content without any modifications, to guarantee that the message layout is identical to the format like it was pushed the API. This means that any tracking of opens and clicks on email messages should be implemented on the customer's end since SDC is not tracking any opens & links by default.
So let's start by sending our promotional mail to a single contact.
We would need to do an HTTP POST request towards the following endpoint:
The content of the email message is defined in the body of the request.
Request body example for an email message:
[
  {
    "reference": "2a0a0b3c547296",
    "content": {
      "html": "<!DOCTYPE html>\r\n<html lang=\"en\" xmlns=\"http://www.w3.org/1999/xhtml\" xmlns:v=\"urn:schemas-microsoft-com:vml\" xmlns:o=\"urn:schemas-microsoft-com:office:office\">\r\n<body>\r\n<table style=\"border: 1px solid gray; width: 600px;\" cellspacing=\"0\" border=\"0\">\r\n  <tr>\r\n    <td align=\"center\" style=\"padding: 1em 2.5em; text-align: center; font-family: 'Montserrat', sans-serif; font-size: 20px; font-weight: 700; text-transform: uppercase;\">\r\n      RestoBar\r\n    </td>\r\n  </tr>\r\n  <tr>\r\n    <td >\r\n      <img src=\"https://getstarted.slgnt.io/engage/assets/guides/html_email_cta_1.png\" alt=\"\" width=\"600\" height=\"400\" border=\"0\" style=\"margin: auto; display: block;\"/>\r\n    </td>\r\n  </tr>\r\n</table>\r\n</body>\r\n</html>",
      "text": "We Serve Healthy & Delicious Foods, Get Your Order Here!"
    },
    "headers": {
      "subject": "RestoBar - Order Now!",
      "to": {
        "alias": "Jane Doe",
        "address": "jane.doe@example.com"
      },
      "from": {
        "alias": "RestoBar",
        "address": "restobar@example.com"
      },
      "reply": {
        "alias": "RestoBar",
        "address": "restobar@example.com"
      },
      "list_unsubscribe": "<https://www.example.com/unsubscribe.aspx?ID=123456>, <mailto:unsubscribe@example.com?subject=unsubscribe 123456>"
    },
    "context": {
      "profile": "crm-id-123456789",
      "tags": ["resto-order-now-campaign-spring"],
      "metadata": "{\"name\":\"jane.doe\",\"ref\":123456789}"
    }
  }
]
The above snippet will send a single email message to a recipient.
API documentation
All the request body properties are documented in detail in the API documentation.
Let's break the request body into pieces and explain each part.
reference & content
[
  {
    "reference": "2a0a0b3c547296",
    "content": {
      "html": "<!DOCTYPE html>\r\n<html lang=\"en\" xmlns=\"http://www.w3.org/1999/xhtml\" xmlns:v=\"urn:schemas-microsoft-com:vml\" xmlns:o=\"urn:schemas-microsoft-com:office:office\">\r\n<body>\r\n<table style=\"border: 1px solid gray; width: 600px;\" cellspacing=\"0\" border=\"0\">\r\n  <tr>\r\n    <td align=\"center\" style=\"padding: 1em 2.5em; text-align: center; font-family: 'Montserrat', sans-serif; font-size: 20px; font-weight: 700; text-transform: uppercase;\">\r\n      RestoBar\r\n    </td>\r\n  </tr>\r\n  <tr>\r\n    <td >\r\n      <img src=\"https://getstarted.slgnt.io/engage/assets/guides/html_email_cta_1.png\" alt=\"\" width=\"600\" height=\"400\" border=\"0\" style=\"margin: auto; display: block;\"/>\r\n    </td>\r\n  </tr>\r\n</table>\r\n</body>\r\n</html>",
      "text": "We Serve Healthy & Delicious Foods, Get Your Order Here!"
    }
  }
]
The reference is a unique identifier for the message. It is used to track the message in the delivery reporting.
The content block contains the content of the email message, where the html field contains the HTML content of the email message and the text field contains the plain text content of the email message. The html field is required and the text field is optional, but it is a best practice to provide a text version next to an HTML version of the message.
Info
Be sure to escape the HTML content of the email message to be able to send it as JSON
headers
[
  {
    "headers": {
      "subject": "RestoBar - Order Now!",
      "to": {
        "alias": "Jane Doe",
        "address": "jane.doe@example.com"
      },
      "from": {
        "alias": "RestoBar",
        "address": "restobar@xample.com"
      },
      "reply": {
        "alias": "RestoBar",
        "address": "restobar@xample.com"
      },
      "list_unsubscribe": "<https://www.example.com/unsubscribe.aspx?ID=123456>, <mailto:unsubscribe@example.com?subject=unsubscribe 123456>"
    }
  }
]
The headers block contains all the header elements of the email message. The subject field logically contains the subject of the email message.
The to field contains the recipient of the email message, which is a required field, where the alias field contains the alias of the recipient and the address field contains the email address of the recipient. The from field contains the sender of the email message, which is a required field, where the alias field contains the alias of the sender and the address field contains the email address of the sender.
In case the recipient wants to reply to the email message, the reply field contains the reply address of the email message, where the alias field contains the alias of the reply address and the address field contains the email address of the reply address.
To facilitate unsubscribing from the email list, the list_unsubscribe field contains the url field containing the URL of the email list unsubscribe page and the mailto field contains the email address of the email list unsubscribe page.
context
[
  {
    "context": {
      "profile": "crm-id-123456789",
      "tags": ["resto-order-now-campaign-spring"],
      "metadata": "{\"name\":\"jane.doe\",\"ref\":123456789}"
    }
  }
]
The context block contains all the contextual elements and any relevant metadata to store relevant information with the email message.
The profile field is a reference towards your recipient, as known in your internal systems, like a CRM, ERP, ... This can be anything from an identification like a number (12345), UUID (123e4567-e89b-12d3-a456-426614174000) or email address (john.doe@example), as long as the identifier is uniquely referencing a contact/recipient.
profile
The profile field is important, as it is used to track the recipient in the delivery reporting.
By using the tags field, you can tag the email message with a list of tags, which can be used for filtering and reporting purposes.
The metadata field is a custom field that can be used for passing on external metadata through SDC. The metadata will be included in the feedback data, but not available for reporting or filtering within SDC. This can be a string or stringified JSON object.
API Response
If the API request is processed successfully, SDC will respond with a 202 Accepted status code.
In case of an invalid property in the request, the response will contain a 422 Unprocessable entity status code, with a JSON body containing the error message.
Additional fields
There are a number of fields we are not using in this example, but you can use them to pass on additional information.
attachments
Email messages can contain attachments by adding them inline as BASE64 encoded strings. The attachments field contains an array of attachments, to attach 1 or multiple files to the email message.
attachments - Base64 encoded file
Each attachment is defined by a file_name field which is the file name as presented in the email client, a data field which contains the data of the file in a Base64 encoded format and the mime-type of the file.
[
  {
    "reference": "2a0a0b3c547296",
    "content": {
      "html": "<!DOCTYPE html>\r\n<html lang=\"en\" xmlns=\"http://www.w3.org/1999/xhtml\" xmlns:v=\"urn:schemas-microsoft-com:vml\" xmlns:o=\"urn:schemas-microsoft-com:office:office\">\r\n<body>\r\n<table style=\"border: 1px solid gray; width: 600px;\" cellspacing=\"0\" border=\"0\">\r\n  <tr>\r\n    <td align=\"center\" style=\"padding: 1em 2.5em; text-align: center; font-family: 'Montserrat', sans-serif; font-size: 20px; font-weight: 700; text-transform: uppercase;\">\r\n      RestoBar\r\n    </td>\r\n  </tr>\r\n  <tr>\r\n    <td >\r\n      <img src=\"https://getstarted.slgnt.io/engage/assets/guides/html_email_cta_1.png\" alt=\"\" width=\"600\" height=\"400\" border=\"0\" style=\"margin: auto; display: block;\"/>\r\n    </td>\r\n  </tr>\r\n</table>\r\n</body>\r\n</html>",
      "text": "We Serve Healthy & Delicious Foods, Get Your Order Here!",
      "attachments": [
        {
          "file_name": "placeholder.png",
          "data": "iVBORw0KGgoAAAANSUhEUgAAAAgAAAAIAQMAAAD+wSzIAAAABlBMVEX///+/v7+jQ3Y5AAAADklEQVQI12P4AIX8EAgALgAD/aNpbtEAAAAASUVORK5CYII=",
          "mime_type": "image/png"
        }
      ]
    }
  }
]
custom_send_time
[
  {
    "reference": "2a0a0b3c547296",
    "content": {...},
    "headers": {...},
    "context": {...},
    "custom_send_time": "2022-09-02T12:00:00"
  }
]
By default, messages are processed and sent immediately. If you want to send the message at a specific time, you can set the custom_send_time field to the desired time. The date-time can be entered in UTC format.
Important
Important to note that the custom_send_time cannot be scheduled more than 24 hours in advance.
time_to_live
[
  {
    "reference": "2a0a0b3c547296",
    "content": {...},
    "headers": {...},
    "context": {...},
    "time_to_live": "P2D"
  }
]
In some cases, you want expired messages to be deleted from the queue, in case they can not be delivered to the ISPs due to delays on their end. By passing a time_to_live field, you can set an expiration time before a message is deleted. This value is expressed as an ISO 8601 duration.
Examples:
- "P2D" = 2 days
- "PT30M" = 30 minutes
- "PT10S" = 10 seconds
Important
The maximum time-to-live that can be defined is 2 days or 48 hours.